I happened accross this product while at CVS. I was there to pick up some sodas but of course I ended up wandering into the makeup section. What caught my eye about this compact was the fact that it contained a primer. Immediately I wanted to see if it worked so I ended up leaving CVS that day with two bottles of soda and this compact, all for under $8.00 (the compact was $4.99 by itself).
I purchased the one designed for blue eyes. It contained an eyeshadow base/primer, an "illuminator" which is meant to add highlight and "transform any dark shadow into a brand new color," a sponge tip applicator, and four eyeshadows; a dark grey with blue sparkles, a bright lilac, a shimmery silver, and a light, shimmery lavender. The compact also contains suggestions on how to apply the colors.
When I tried out the colors I found them to be quite pigmented, but when I swatched them over the base and illuminator they didn't seem any different.
Starting at the top going clockwise: without a primer, overtop the primer, and overtop the illuminator.
The colors applied quite well when packed on, however when blended they lost a lot of their brightness and there was quite a bit of fallout. The primer did not seem to do very much, it didn't really help the colors adhere or blend much better, it prevented some creasing but not all, after a couple hours of wear the colors were creasing some but probably not as badly as if I had gone without a primer entierly. The illuminator , although pretty for a brow or inner corner highlight base was very hard to blend.
I gave the recomended look from the package a try and this is how it turned out:
I was dissapointed with this product because I was really excited about trying it for some reason. Over all I give it a C. Even though the primer was not so great the quality overall was still pretty decent compared to most drugstore products.
I wanted to try out a more dramatic look using this palette, if you are interested check out the tutorial here:
or check it out on my youtube channel: you.ube.com/JaciMischelle
Recently I have become obsessed with eyebrows and eyebrow products. Strong brows seem to be back in fashon nowadays and having well groomed and defined brows can be key to looking put together and pulling off dramatic looks.
Unfortunately most of the quality eyebrow products I have seen around are relatively pricey.Benefit Brow Zings, the Urban Decay Brow Box and the Too-Faced Brow Envy all sell for around $30.00 and the Anastasia Beverly Hills Brow Kit is a whopping $65.00. So henceforth I began my quest to find an affordable, good quality eyebrow kit.
Today I present the NYX Eyebrow Cake Powder "For Those Movie Star Brows."
I picked this product up at Ulta for only $5.99. It comes in six shades, blonde, auburn/red, taupe/ash, brunette, dark brown/brown, and black/grey. I bought the dark brown/brown.
The kit contains one wax cake, two shades of pressed powders, and an angled brush and a spoolie (a clean mascara wand).
From what I can tell the wax works really well, hours later my brows were still in place and the powders are very well pigmented.
The only thing I didn't like about this product is that the brushes were so short that they were almost impossible to use. Also, it didn't contain any instructions on how to use the product for very new beginners like most of the other more expensive alternatives do.
Since there isn't a how-to on the packaging I decided to provide a tutorial of my own.
This is how my brows looked to begin with, make sure that they are well trimmed and plucked.
The first step is to use the spoolie to brush the brow hairs up towards the temples.
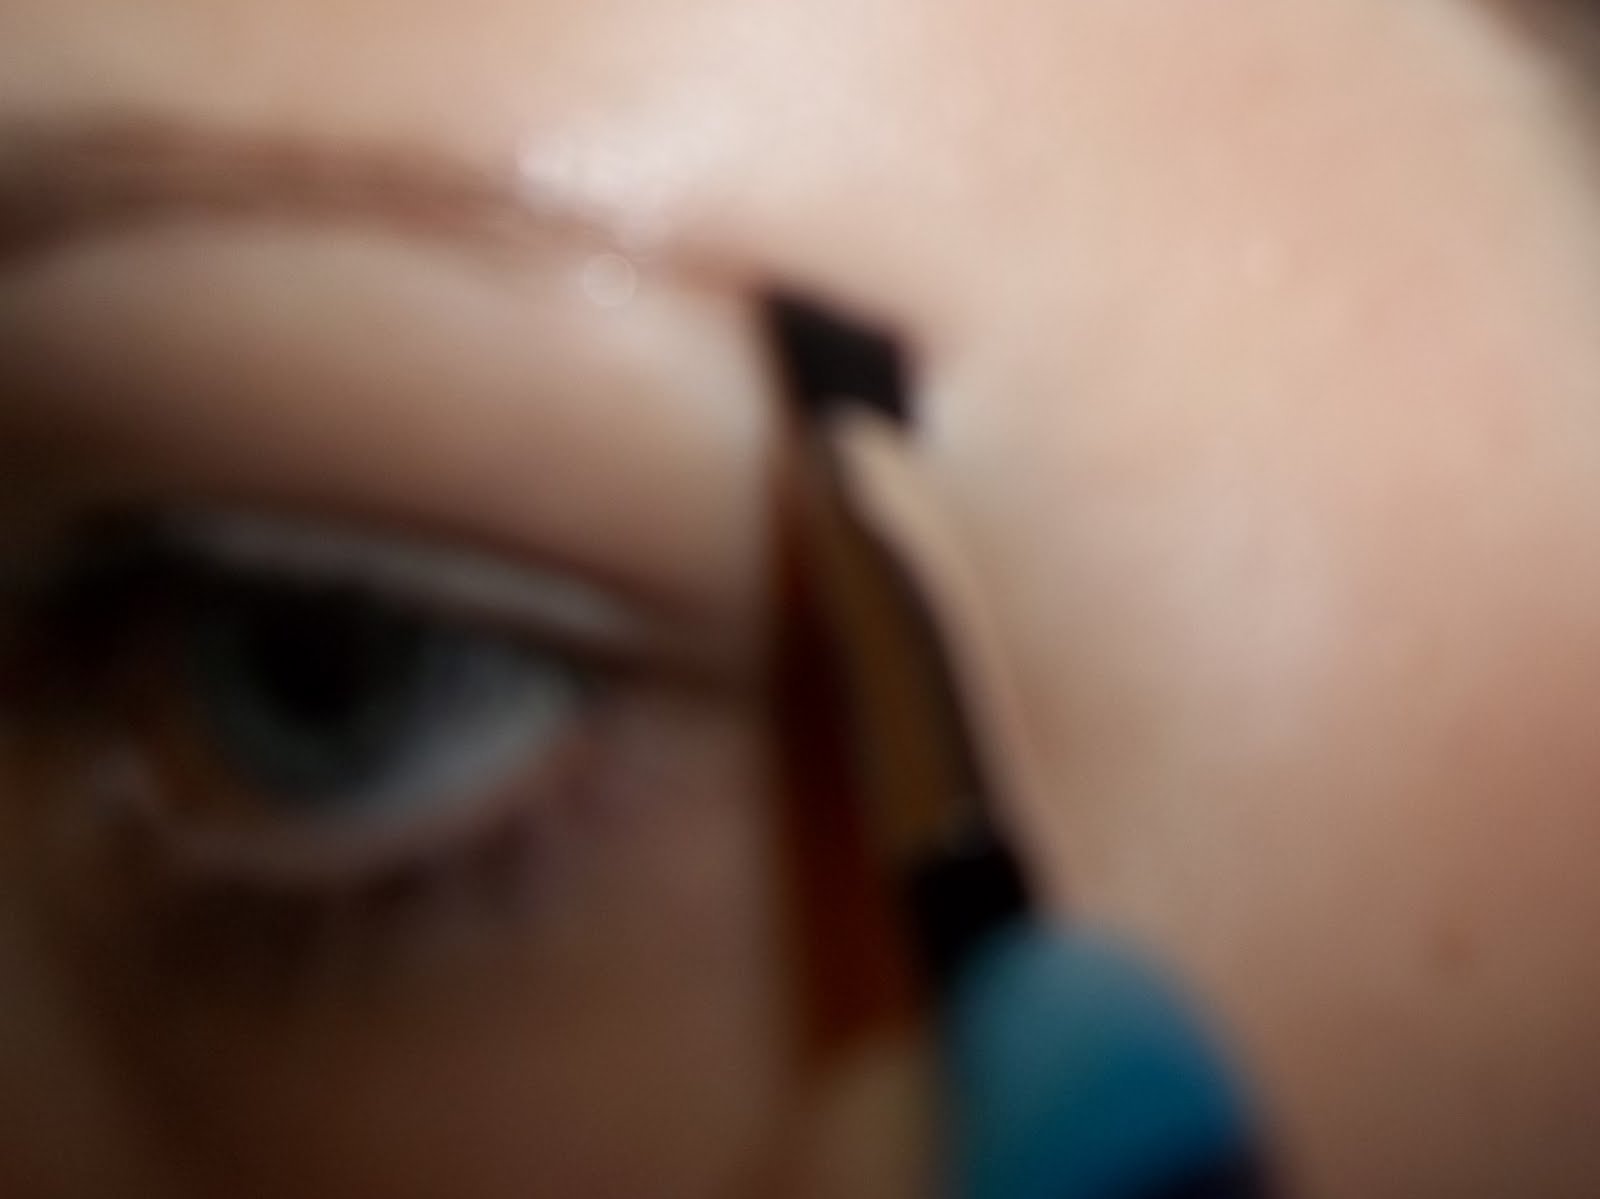
Next, dip the angled brush into the wax cake and use it to coat the brow hairs and set them into place. Keep going in the upward direction towards the temples.
Since my brow tails are very sparse and don't grow far enough I apply a small amount of wax just past my brow extending the tail.
To figure out where your brow tail is supposed to end use a brush or pencil and line up the angle from the corner of your nose to the outer corner of your eye, extending towards your brows. Where the brush or pencil is marks where your brow tail should end.
After applying the wax, coat the angled brush in the powders. use a mixture of the two shades to get a perfect match. I ended up using more of the darker shade. Brush onto the brows over the wax, keeping with the upward strokes. If you need to extend your tail, continue past the brow onto where you applied the wax, the wax will help the powders to adhere to you skin.
Now take the time to clean up any mistakes with a makeup wipe.
Finally, grab the spoolie again and use it to blend out the brow. This will help even out any areas that you may have applied too much wax or too dark powder.It will also blend out the brow and make it look much more natural.
This is the final product of my brow technique. I really like doing my brows this way because they don't end up looking too overdrawn but still look polished and tamed.