Friday, March 11, 2011

MSDriftedSW is giving away a Naked Palette!!

How awesome is this?
This much coveted palette has been sold out pretty much since it hit shelves, somehow this lucky lady managed to get her hands on two of them and she is giving one away!
The palette contains a mixture of matte and shimmer(mainly shimmer) neutral shades along with a double sided eye pencil and a mini-primer potion.

I am personally so excited about this! If you want to enter all the details are on her blog: http://msdriftedsw.blogspot.com/2011/03/giveaway-urban-decay-naked-palette.html

Good Luck Everybody!!

Wednesday, March 9, 2011

Jessie J inspired look

I love Jessie J, her style and her makeup. I recently watched a VEVO Style video with Jessie J where they filmed her going shopping at this vintage store, talking about her personal style, ect. In the video she was wearing a makeup look that was slightly different from the ones she normally has on (winged liner, spiky lashes...) and seeing it really inspired me to create a look based on her makeup.

  • Start out with primed lids. Then apply a black base to the lid, I used NYX Jumbo Eye Pencil in Black Bean. Then blend out into the crease with a brush or your finger.

  • Next, using a paddle brush apply a silver eyeshadow to the inner 2/3 of the lid. I used Evil Shades Silver Bullet.
  • Then using a small crease brush apply a matte black eyeshadow to the outer V and the crease. I used the black from my 88 pallete.
  • Now use a matte skin-toned eyeshadow on a flat topped brush to clean up and blend above the black. I used MAC Blanc Type.
  • Then using the matte black and flat liner brush blend eyeshadow into the lower lashline.
  • Now use a white base or eyliner on the inner corner and tear duct area, blend out with either a brush or your finger. I used NYX Jumbo Eye Pencil in Milk.
  • Then using a small brush apply a light silver eyeshadow on top of the white base and over the black under the lower lashline. I used the silver color from the Boyfriends Jeans duo from Essence.

  • Apply eyeliner to the waterlines (I used white because I have very small eyes but you can use black if you want), black liquid or gel liner to the upper lashline, and a coat of mascara.

  • Now apply false lashes. In the video I saw Jessie was wearing very full lashes, these ones were the closest I had. I used #28 Salon Perfect.
  • I have noticed that Jessie always seems to wear very red blush that is placed almost as a contour. Because I didn't have anything close to the color she wore for blush I just mixed three of the red colors from my 88 pallete and applied them with an angled brush right along the bottom edge of my cheekbones and blended very well.
  • For the lips I used a red lipliner to line and then fill in my lips.

Saturday, March 5, 2011

Product Review: Denim Wanted! from essence

I am constantly on the look out for inexpensive, quality makeup so when I stumbled accross this new collection by Essence while in Ulta last week I had to give the products a try. I have never used anything by Essence so I was a little skeptical but they had a few of the eyeshadows out for swatching and when I tried them I saw they had amazing color payoff. I  was so excited especially when I found out that everything was under $3.00. I bought two of the eyeshadow duos and one of the gel liners.

The first product I tried was "Love My Jeans" eyeshadow duo,  it contains a ballet pink and light silver-grey.


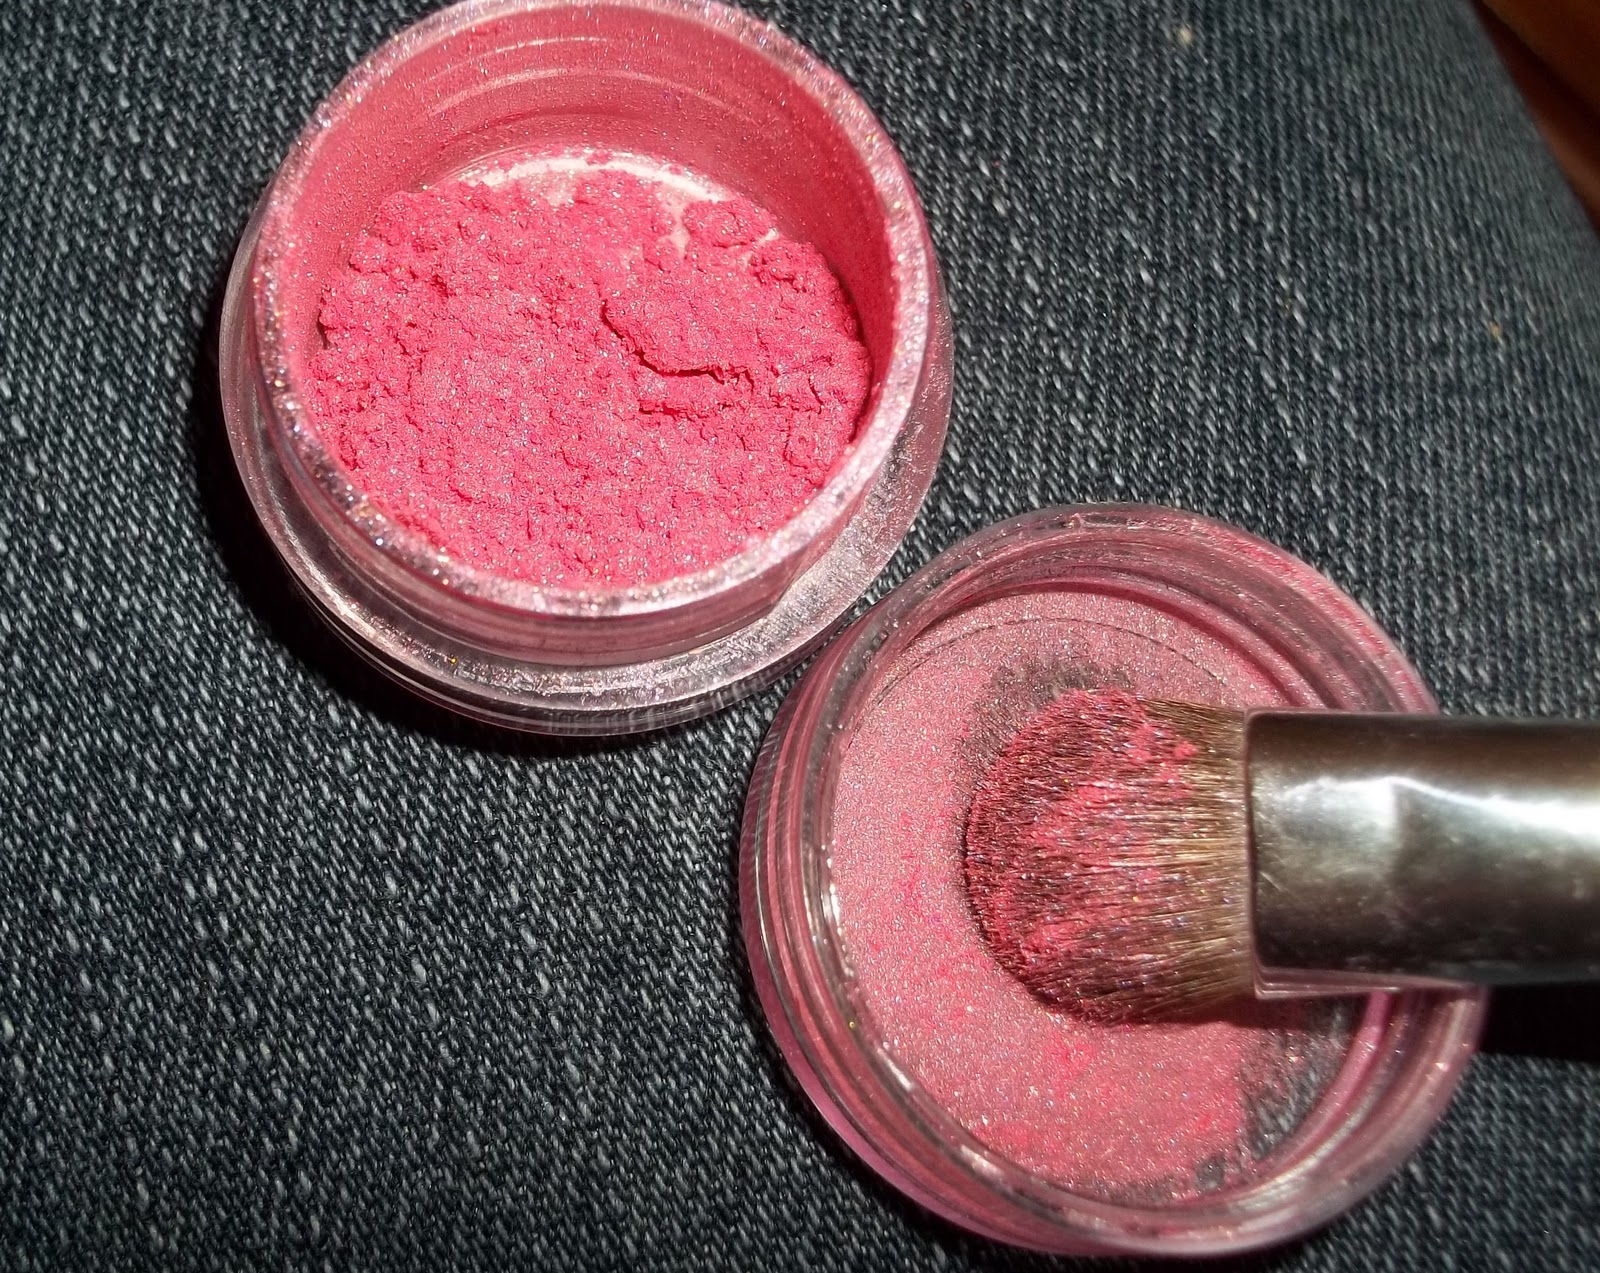
When first swatched the color payoff is decent and the texture is very nice and soft. However as you can see from the pictures they are not as pigmented as I had first hoped.
with flash
without flash

The next duo I tried was "My Boyfriend's Jeans", it contains a dark, almost navy purple and a silver. These shadows had better color payoff than did the first duo and also had a very soft, blendable texture.
with flash
without flash

The other product I purchased was one of the gel eyeliners in "Vintage Style", its a basic black. The gel eyeliner seemed a little too hard and the brush provided was a little too soft. However once I started to work with the product a bit more it seemed to warm up and go on a lot easier, it seemed to be quite long-wearing as well.
with flash
without flash

I did a quick look using the Boyfriend's Jeans duo and the gel liner to try the products out a little more.

The only major problem I experienced was that the eyeshadows were almost too soft and blendable, they tend to blend and blend and its hard to get the color to concentrate but overall I think they were a good buy for the price. The gel liner wasn't amazing and I actually think that the one by Maybelline is better (its about 7-8 dollars) but again, for the price not bad at all ( I will probably continue using this gel liner and wait until its used up to buy a different kind).

Overall I have to give this collection a B -
I wasn't super impressed but I am glad I bought these products and tried them out, I plan on continuting to use them but I'll probably test out something new next time.

Wednesday, March 2, 2011

Bright and Colorful Springtime Flowers look with Evil Shades Cosmetics


Since spring its starting to feel like spring here in Oklahoma I've been inspired to create a fun springtime look that incorporates the bright colors which are projected to be everywhere this season. For this look I used colors by Evil Shades Cosmetics, some that I have had for a little while and some from one of their newer collections. I will also hopefully be doing a review of some Evil Shades products in the near future.  

So let's begin...

  • First begin with a primed eye, either using a primer or concealer and powder.
  • Apply a white base onto the lid so the colors will be even more vibrant, I used NYX Jumbo Eye Pencil in Milk. 
  • Then use your ring finger or a brush to blend the white base out.
  • Next using a paddle brush apply a bright pink shaddow to the lid. I'm using Evil Shades Panic.

  • Then using a crease brush blend a bright orange into the crease. I'm using Evil Shades CC41 from the Pinup collection. 

  • Now using a smaller crease brush apply a bright yellow into the inner corners and blend a little above the orange to help it fade out. I'm using Evil Shades Sweater Girl from the Pinup collection.

  • I really wanted the yellow in the inner corner to be intense so to enhance and brighten it dip a small stiff brush into a drop of mixing medium or eyedrops. Then dab any excess moisture off the brush and dip into the yellow pigment and add a little more pigment to the inner corners (you don't want to apply it totally wet because this will make it not match the texture of the other colors, using a slightly damp brush will help the pigment adhere better and be brighter without being entirely too bright or wet looking).
  • Next dip the same small, stiff, damp brush (with the yellow wiped off of course) into a bright green pigment, I'm using Evil Shades Sinister, and apply to the lower lashline.

  • Using a flat topped brush apply a white shadow under the brows as a highlight. I'm using NYX White.

  • Then apply a white eyeliner to the waterlines and to all the colors together apply a thin line of black liquid or gel liner with a slight wing and a coat of black mascara
And moving on to the face:
  • I have already applied my foundation as usual. 
  • Contour naturally if desired. 
  • Then use a shimmery, light pink blush. I blended Maybelline Dream Mousse Blush in Rose Petal onto the apples of my cheeks.

  • Finally on the lips apply a bright pink-y coral lipstick. I used Bourjois Rose Scandaleux.
  • Since the color was so bright I decided to tone it down with a nude gloss over top
I hope you enjoy this look!